

This post contains affiliate links.
When it comes to preparing for emergencies, having a well-stocked first aid kit can make all the difference. After careful research, testing, and consideration, we decided to build our own first aid kit customized to our specific needs, using the Pelican Vault case as our foundation. Here’s a step-by-step guide detailing how we crafted our kit to be comprehensive, organized, and efficient for a diverse set of potential situations.
Step 1. Choose the Perfect Case
We opted for the Pelican Vault case for several reasons. Its sturdy construction, waterproof design, and optimal size made it suitable for our needs. Not only can it carry everything we might need, but it’s also lightweight and compact enough to be easily portable. Plus, the standout feature of the case is its lid, which can stand on its own when open, providing easy visibility and access to every item inside.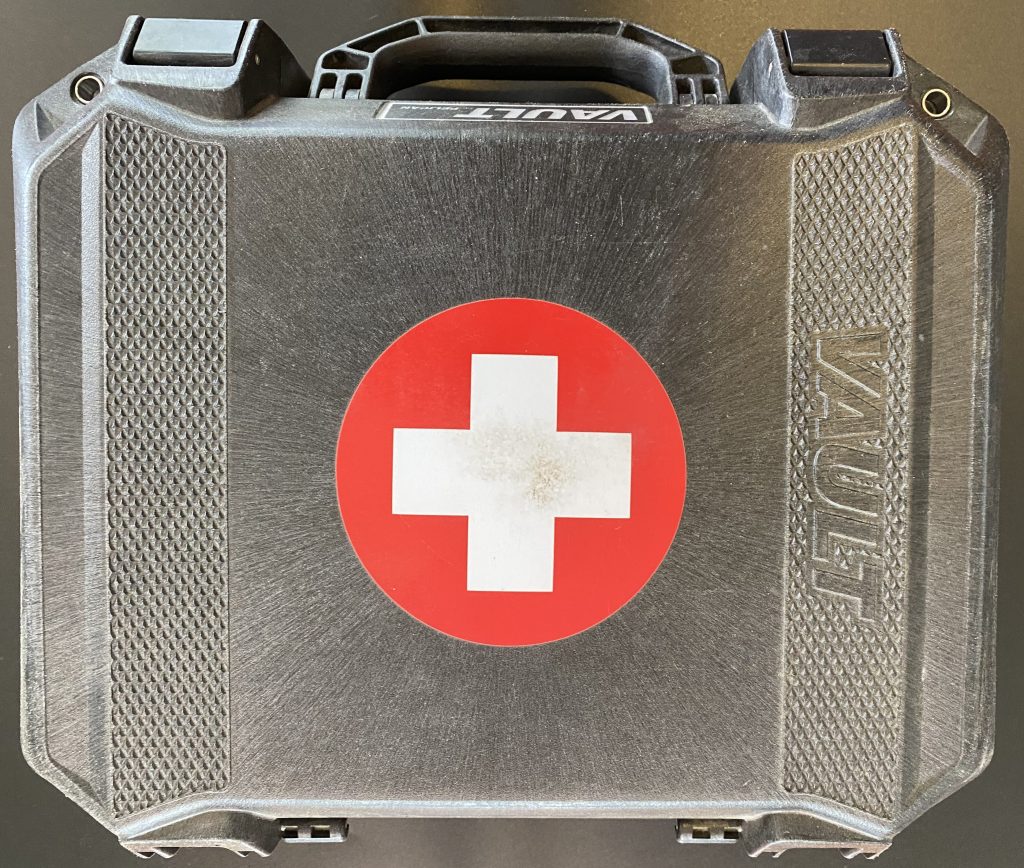
Step 2. Organize for Efficiency
To ensure that every item in our first aid kit stays in place and is easily removable, we lined the lid and bottom of the case with strips of loop Velcro. This simple yet effective solution keeps the hook backed pouches and panels securely in place, even during transport or emergencies. This adds a level of organization to categorize items into smaller pouches.
We’ve customized our first aid kit with square pouches and labels from Imminent Threat Solutions, although any pouch with hook backing will suffice. The clear rectangle pouches from Hailey Strategic offer additional organization options with loop interiors for labeling or additional organization.
Step 3. Fine-Tune Essentials for Every Situation
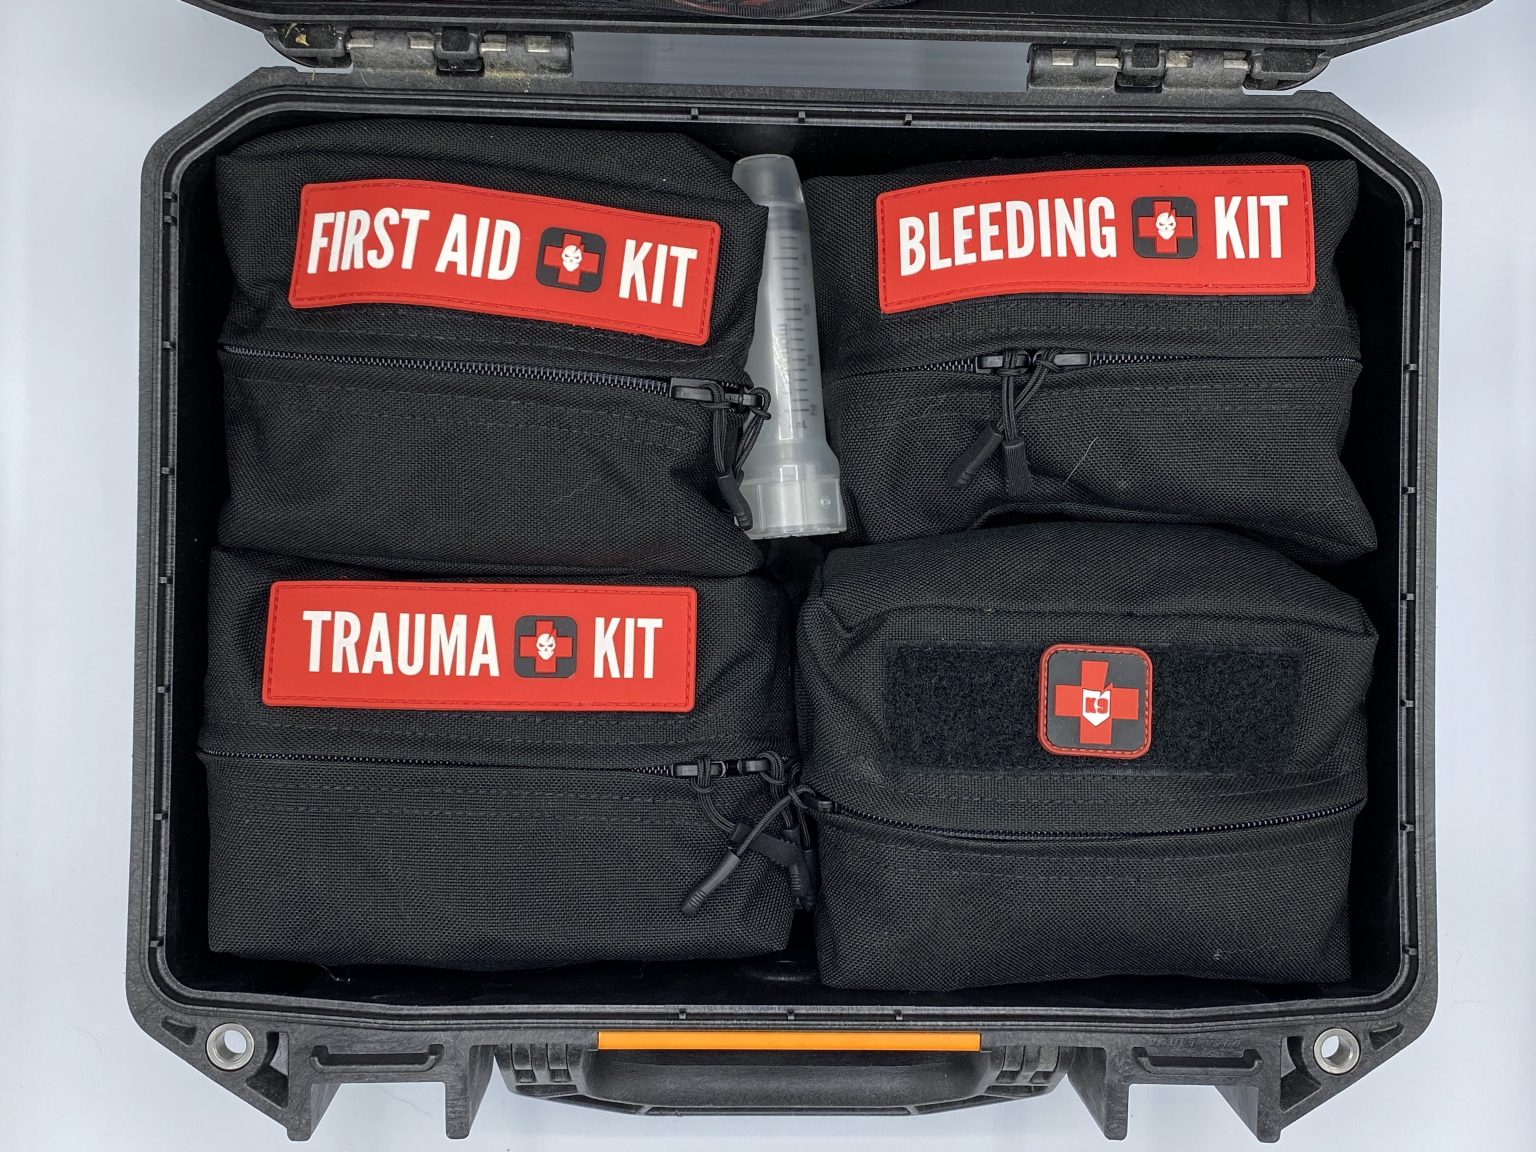
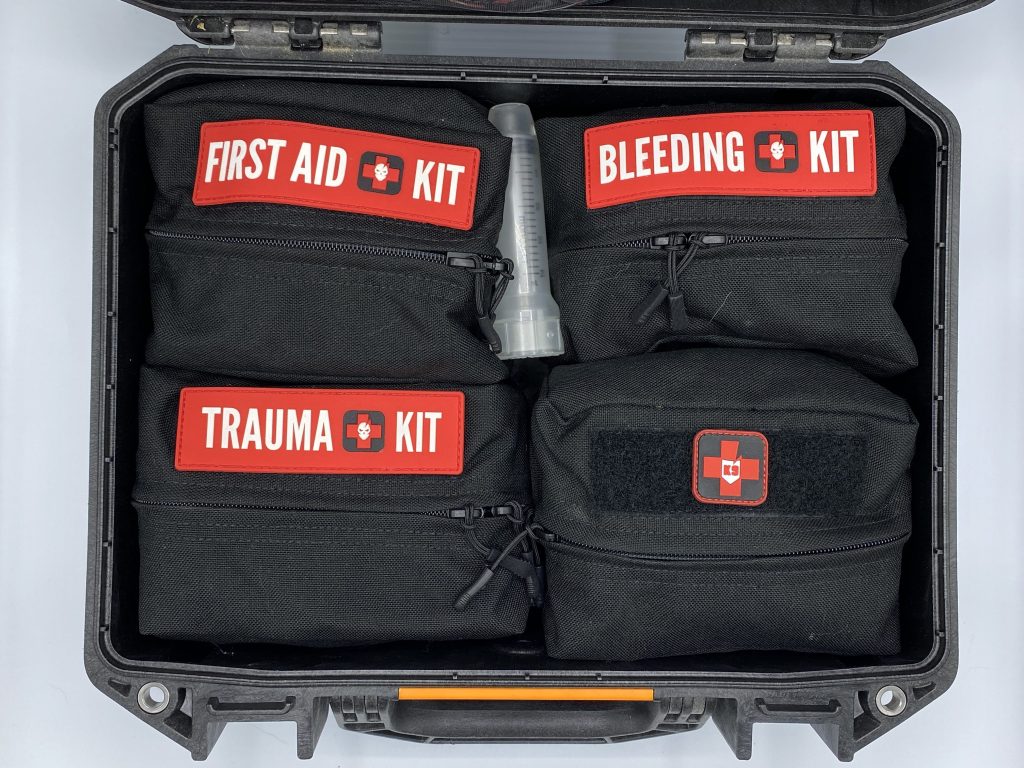
Our first aid kit is divided into several specialized pouches, each containing essential items tailored to specific scenarios:
- Bleeding Kit: Focused on addressing mass bleeding events, this kit includes items such as compressed gauze, hemostatic gauze, a CAT tourniquet, gloves, and a pressure dressing.


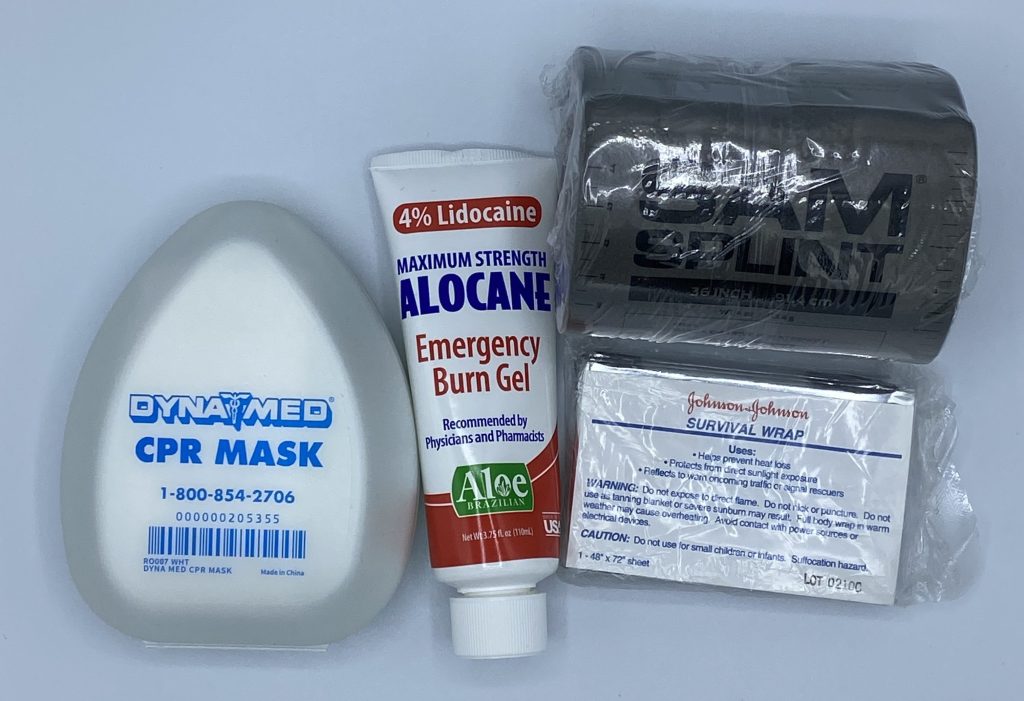
- Trauma Pouch: Equipped with splints, CPR masks, burn gel, and emergency blankets, this pouch is equipped to manage other traumatic injuries and work alongside the bleeding kit.

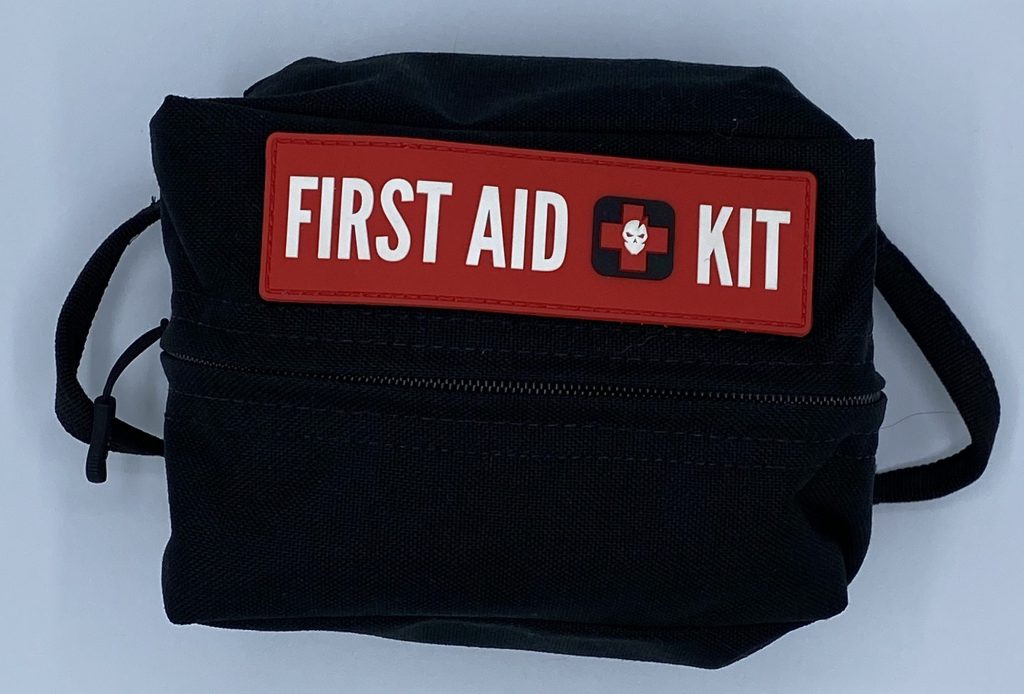
- First Aid Pouch: Stocked with basics like band-aids, gauze, antibiotic ointment, and syringes for irrigation, this pouch addresses common medical needs. We also have a 20ml syringe for irrigating wounds.

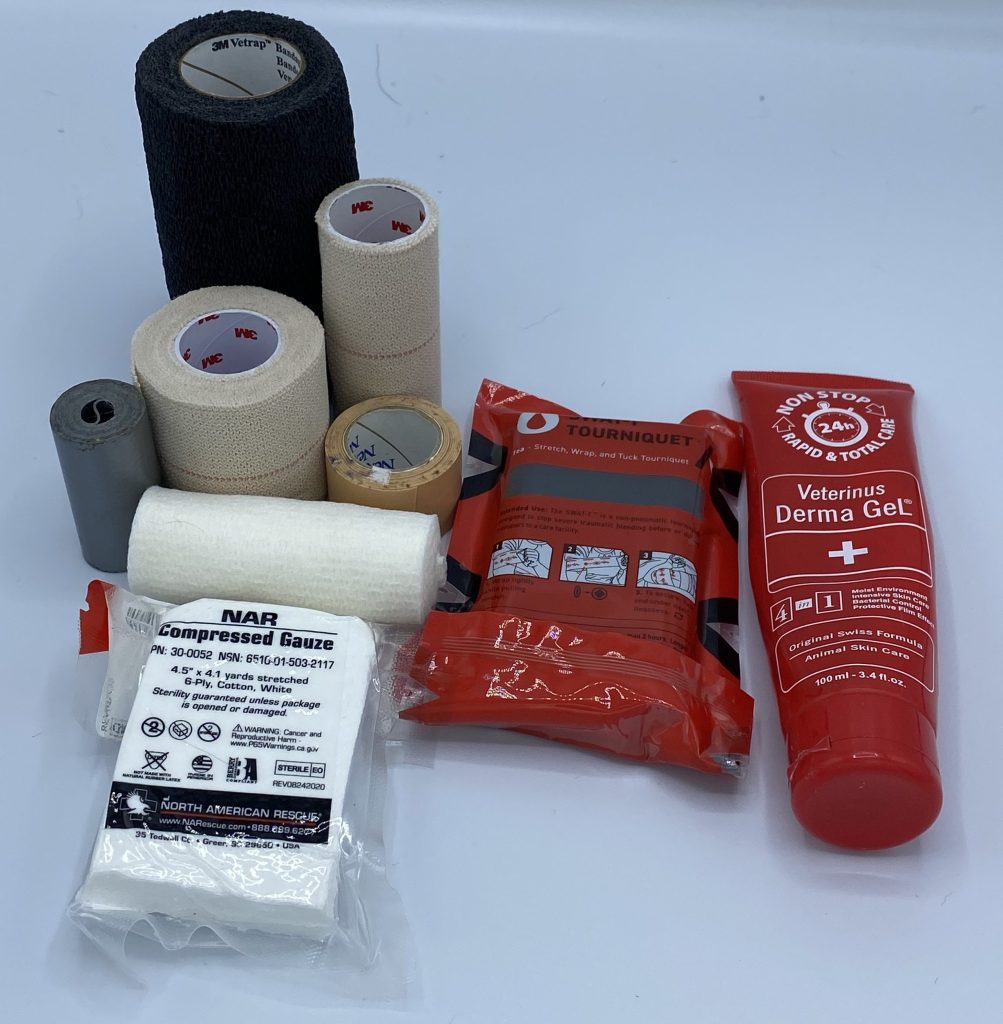
- K-9 First Aid Pouch: Designed specifically for our furry friends, this pouch contains items like Vetrap, roll gauze, and Dermagel to address common pet injuries. We also keep a SWAT tourniquet with compressed gauze for any severe bleeding incidents since a CAT tourniquet will not work for a dog.
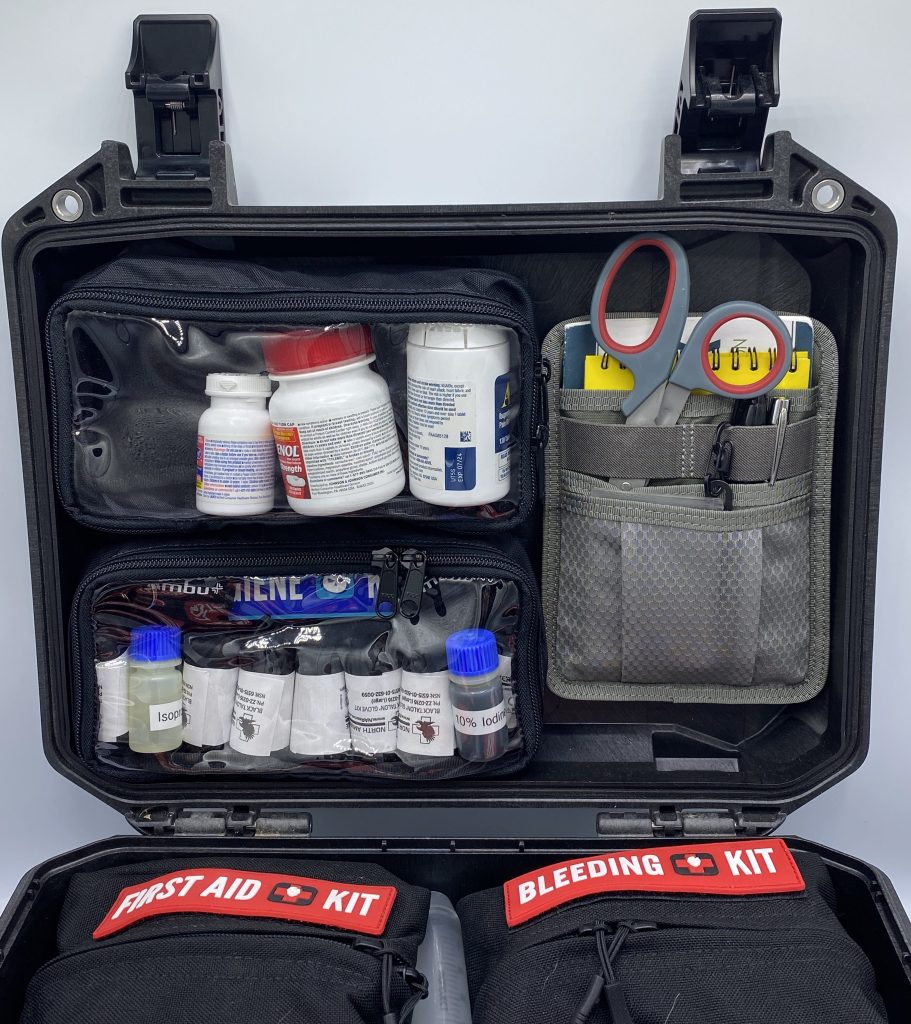
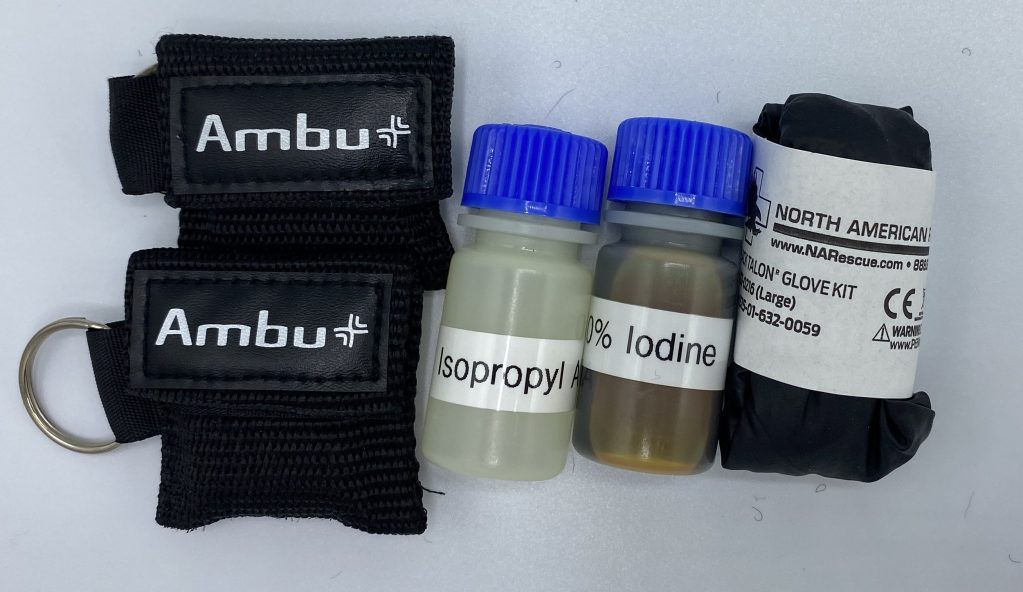
- Medication Pouch: This pouch holds essential medications such as ibuprofen, acetaminophen, antihistamines, Dramamine, and Imodium, ensuring we’re prepared for medical emergencies. There are also small bottles of alcohol and iodine for cleaning wounds and medical tools along with multiple pairs of glove for sanitation.

Step 4. Create a Space for Quick Access Tools (Optional)
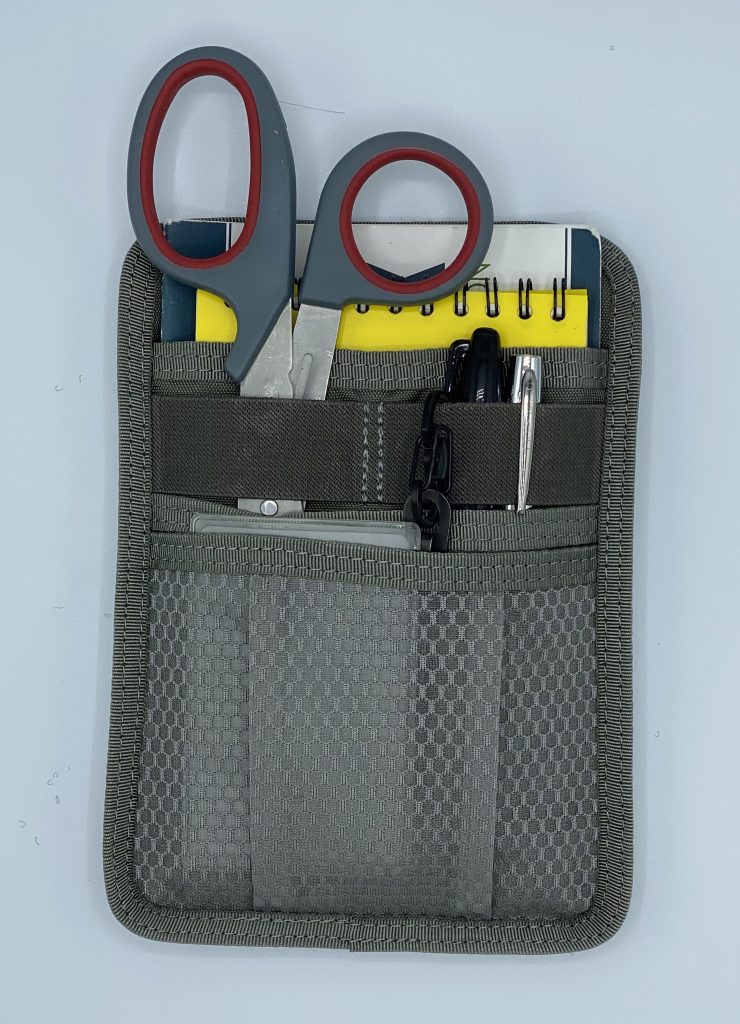
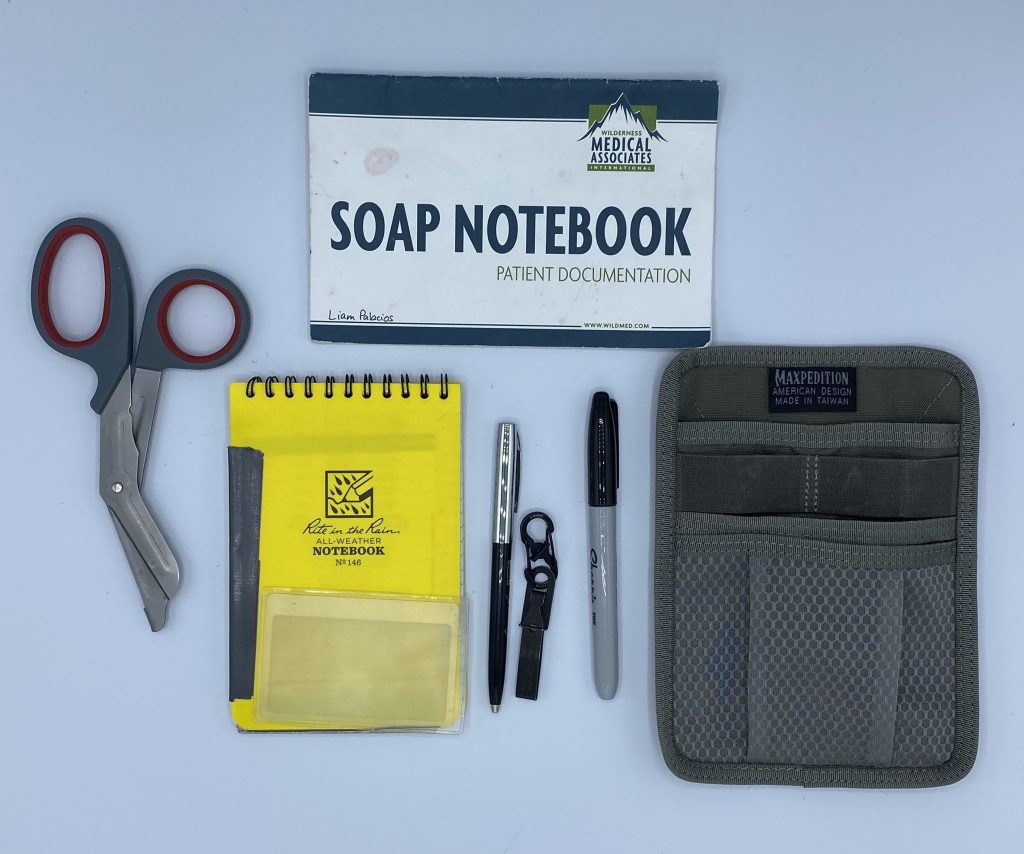
Our admin panel allows for quick access to tools like shears, tweezers, and note-taking supplies, ensuring we can respond efficiently to any situation. Additionally, clear pouches hold small bottles of alcohol and iodine for wound cleaning, along with multiple pairs of gloves for sanitation.
Final Thoughts
Building our ultimate first aid kit was a labor of love, but it’s a critical component of our emergency preparedness arsenal. With careful planning, organization, and attention to detail, we’ve created a kit that is robust, versatile, and ready to handle any medical emergency that comes our way. Whether we’re at home, on the trail, or traveling abroad, our first aid kit gives us peace of mind knowing that we’re prepared to provide essential medical care when it matters most.